
Installing a factory-style turbine roof vent on a house in the Philippines — the DIY process and how it works
In one line
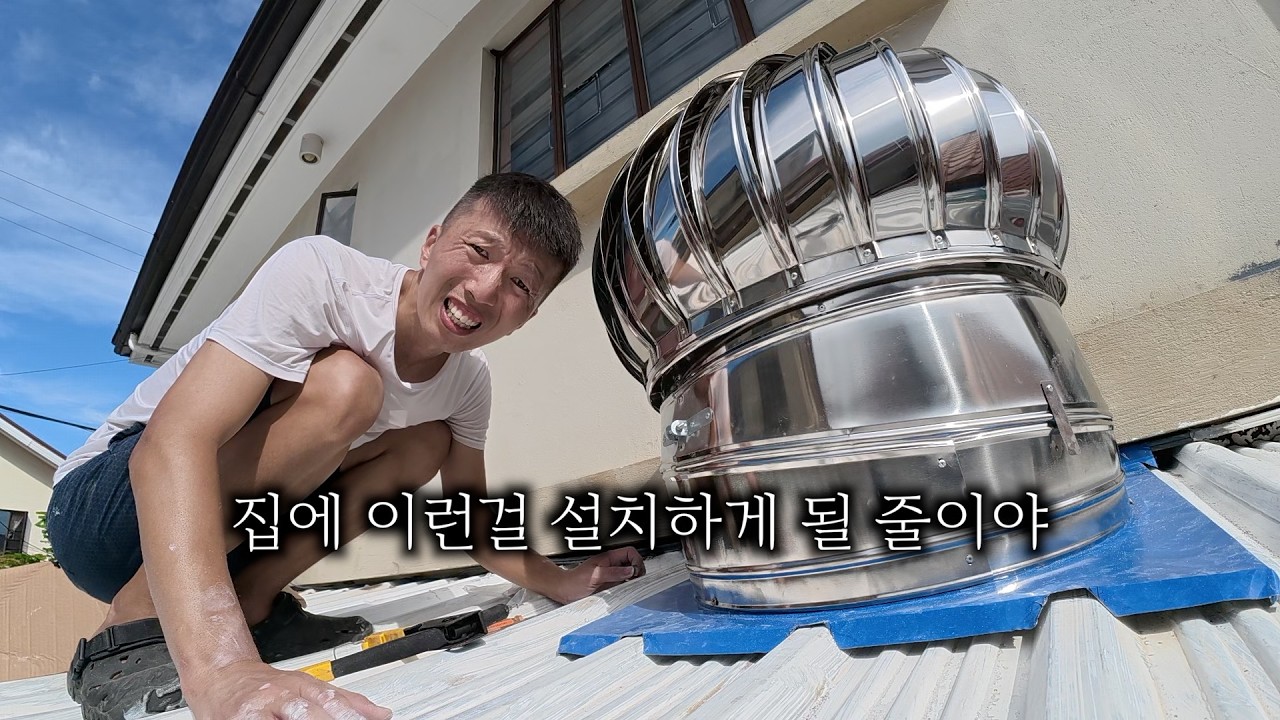
A Korean dad living in the Philippines installs a 50cm wind-driven turbine roof vent, bought online, on the cat room whose airflow was blocked by a neighbor's wall. He shows the assembly and installation, how it held up in rain and wind, and its downsides.
💡 Key takeaways
[Why he installed it]
• Where a window used to be, the new neighbor built a concrete wall, so smoke from barbecues got trapped inside and wouldn't vent out at all, he says.
• He chose the spinning turbine ventilator seen on factory and warehouse roofs to circulate air and let heat escape.
[Buying and assembly]
• A 50cm unit bought online, with an adjustable angle.
• It arrived quite dented from shipping, but not bad enough for a refund, so he straightened it out. Having driven to Manila himself, he thinks trucks drive over two days nonstop on rough roads, so it's hard for parcels to arrive undamaged.
• There was no manual, so he had to figure out the vanes, bearing and base plate himself.
[Installation tips]
• Hot air rises, so he mounted it at the highest point of the roof he could reach.
• You level it by turning the angle adjuster, but getting it perfectly level is hard, he says (it ended up about 1–2 degrees off).
• He folded and trimmed the base plate to fit the roof's curves so rainwater flows out, and plans to apply silicone mainly for adhesion rather than waterproofing.
[How it worked]
• It has rained since installation, but almost no water gets in; only during strong gusts and storms does a little splash inside, he says.
• In the evening the inside and outside temperatures are nearly the same, so it stops on its own; during the day it's windier up top, so it spins well.
• What he's happiest with is that the room feels noticeably cooler. He hasn't tested barbecue smoke yet.
[Watch out]
• He's heard the bearing grease dries out over time, causing noise or stopping, so he expects to replace the bearing or the whole unit then.
⏱ Chapters
00:02 Why he needed a vent
01:03 A dented delivery and assembly with no manual
03:07 Assembly done, spin test
04:08 Preparing for the roof and the shipping story
05:29 Mounting at the highest point and leveling
06:31 Folding and trimming the base plate against leaks
10:11 Installation done, view from inside
11:14 Results after use and downsides
💬 What viewers said (94 comments)
• Most viewers welcomed the return of repair content and praised the 'Philippine MacGyver' for doing it all without a manual.
• Several asked whether it will survive typhoons and whether rain will get in.
• Others shared advice from experience: mount it a bit away from the wall, choose a model with a cone-shaped top, use a sloped base, grease the bearing regularly, and wear work gloves instead of thin latex ones.
Repair content is back, yes lol — PINAY TV is all about repair content~
It'll need to be fixed down firmly for typhoons.
What happens when a typhoon comes? 😅😊


Comments 0
Please log into write a comment.